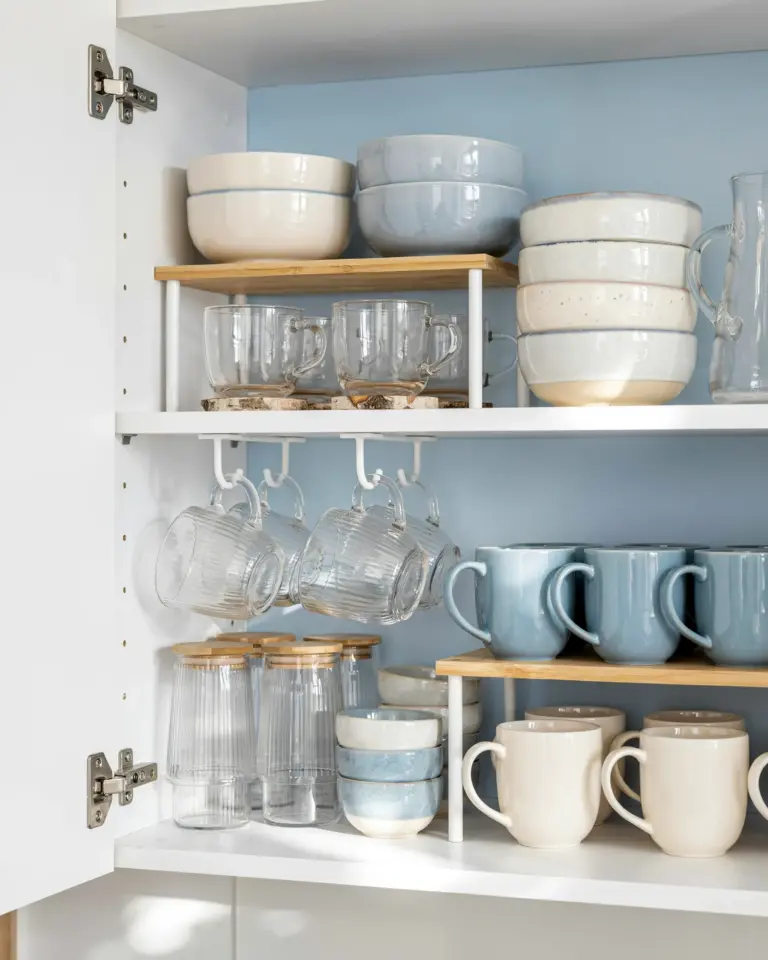
I have made just about every mistake you can imagine when it comes to cupboard organization ideas. I bought bins that didn’t fit, stacked pots so high they avalanched every morning, and once spent an afternoon labeling baskets only to realize I never used half of them. If you want a genuinely clutter-free kitchen, skip the Pinterest-perfect photos and start by fixing the common pitfalls that actually make cupboards messy. Here is a honest guide to what usually goes wrong and how to fix it without losing your mind.
Avoiding wasted space in kitchen cupboards by measuring first
The biggest mistake I see is people running out to buy storage containers before they measure their cupboards. You end up with bins that are too tall for the shelf or too wide to fit side by side. That gap of empty air above the bin or between the bin and the door is just dead space.
Before you spend a dime, grab a tape measure. Note the depth, width, and height of each shelf. Also measure the distance from the shelf to the underside of the cupboard above it. Some cupboards have a lip on the door frame that limits what you can slide in. Write these numbers down and take them with you when you shop, or better yet, stick to brands that list exact dimensions online.
A practical example: I have a cupboard that is exactly 11 inches deep. Most standard bins are 10 or 12 inches deep. The 12-inch ones won’t close, but the 10-inch ones leave a two-inch gap at the front. That gap becomes a black hole for loose spice packets. Instead, I found shallow bins that are 8.5 inches deep and use the extra two inches for a narrow rack on the door. Measuring first saved me from buying bins I would have returned.
Organizing pots and pans for easy access without the stack slump
Stacking pots inside each other is the classic solution, but it leads to frustration. You have to lift four pans to get the one skillet you need, and the lids never stay with their partner. The result is a jumbled mess of clanging metal every time you cook.
Instead, try these specific approaches based on what fits your cupboard:
- Use a pot rack inside the cupboard. Not a fancy hanging rack, just a simple wire shelf riser that lets you set pans on two levels. The bottom row holds frying pans, the top row holds saucepans. No stacking.
- Store lids separately in a vertical file organizer. The same kind you use for baking sheets works for lids. Stand them upright so you can grab the right size in one second.
- If you must stack, put a shelf liner between each pan. That way they don’t scratch, and you can slide them out without the whole pile wobbling.
One trick I love: store the pan you use most often on top of the pile or at the front of the shelf. For me, that is a 10-inch nonstick skillet. It sits alone so I never have to dig for it at 7 AM.
Using shelf risers and vertical dividers to reclaim air space
Most cupboards have a lot of vertical space between shelves that goes completely unused. People stack things horizontally and leave a foot of air above. That is prime real estate for extra storage.
Shelf risers are cheap wire or plastic platforms that double your usable surface. Put one riser in a tall cupboard and suddenly you have two mini shelves. Use the top riser for things you use less often, like holiday cookie cutters, and the bottom for daily mugs or small bowls.
Vertical dividers are great for cutting boards, baking sheets, and cooling racks. Instead of leaning them against each other like a game of pick-up sticks, slide them into vertical slots. They stay upright, you can grab one without pulling out five others, and the space underneath (yes, that air gap again) can hold a small bin of foil and parchment rolls.
Be careful with adjustable shelves. If your cupboard has peg-style shelf supports, you can move the whole shelf up or down. That is even better than a riser because you can customize the height for exactly what lives there. I moved one shelf down by three inches to fit a set of cereal dispensers, and suddenly I had room for a row of travel mugs above them.
Pantry declutter checklist for keeping only what you actually use
I have a confession: I used to keep opened packages of pasta that had been sitting in my cupboard for two years. I told myself I might make that shape again. I never did. Clutter hides in the back of cupboards because we don’t take everything out and look at it.
Set a timer for 20 minutes and pull every single item out of one cupboard. Lay it on the counter. Then make three piles: keep, donate (unopened non-perishables), and trash (expired, stale, or damaged). This is not a passive glance. Check expiration dates. Look for spice jars that have lost their smell. Toss the half-bag of flour that has weevils.
For pantry staples, stick to a simple rule: if you haven’t used it in three months, you probably won’t. Canned beans, broths, and shelf-stable milk are fine if they are still in date, but specialty items like flavored oils or obscure grains often go bad before we use them. Be honest
#KitchenOrganization #CupboardIdeas #HomeOrganizationTips #StorageSolutions #ClutterFreeKitchen
Leave a Comment